Bore Measurement Inspection Sheet: What to Record

Short answer: a bore measurement inspection sheet should identify the part and feature, the requirement being checked, the instrument and its status, the measurement positions and orientations, the conditions, every original reading and the person responsible for the final decision. Keep observed data separate from calculated results and pass-or-fail judgement. Never add a generic tolerance when the drawing, manual or authorised specification has not supplied one.
For a home engine rebuild or small UK workshop, the sheet does not need corporate software. It needs enough context for you, a machine shop or the next owner of the job to understand exactly what was measured. Three numbers written on the back of a parts box are difficult to challenge or repeat. A clear inspection sheet turns those numbers into a usable measurement record without pretending they are stronger than the tool, method and conditions allow.
Begin with the decision, not the blank form
Write the purpose at the top. Are you recording internal diameter at specified positions, checking a machined feature before assembly or collecting preliminary information for a machine shop? The purpose determines which positions, orientations and evidence matter.
Then identify the source of the requirement: drawing number and revision, workshop manual, customer instruction or other authorised specification. If there is no approved tolerance, leave the acceptance field open and mark the record as investigative. Do not borrow a wear limit from a different engine or a tolerance from a similar-looking part.
Core fields for a bore inspection record
| Section | Fields to capture | Why it matters |
|---|---|---|
| Job identity | Job number, owner, date and responsible person. | Connects the record to the correct work and decision. |
| Part identity | Part name, unique mark, drawing or manual reference and revision. | Prevents good data being applied to the wrong component or requirement. |
| Feature identity | Bore number, nominal size, depth band and orientation reference. | Makes each reading repeatable at the intended place. |
| Instrument | Tool ID, type, measuring range and status reference. | Shows which equipment produced the result and whether it was controlled. |
| Pre-use checks | Condition, cleanliness, reference-check result, date and reference artefact. | Records evidence available before the part was measured. |
| Conditions | Workpiece state, temperature information, recent machining and unusual environment. | Helps explain variation and supports later comparison. |
| Readings | Depth, orientation, trial number, indicated value and observation. | Preserves the original data rather than only a selected summary. |
| Decision | Specified limits, calculation, result, reviewer and disposition. | Separates measurement from the authority to accept or reject the part. |
Give every bore and position a stable name
Number repeated features so that 'bore 2' means the same thing throughout the job. Add a sketch or written datum for orientation. On an engine block, for example, a consistent front reference and a defined direction can prevent one person's 'across' from becoming another person's 'along'. Avoid relying on how the part happened to sit on the bench.
Define depth from a stated surface. 'Top, middle, bottom' sounds clear but is not repeatable unless those zones are located. Record the actual method used to place the measuring head. If a blind-hole feature prevents measurement close to the bottom, write 'not accessible with this instrument' rather than inventing a value.
Record the instrument without inventing its capability
The instrument section should state what you know: tool identifier, type, supported measuring range, current status and the record for any check or calibration. Do not copy an accuracy or resolution figure from another product. Do not write 'traceable' unless the chain and relevant evidence are actually established.
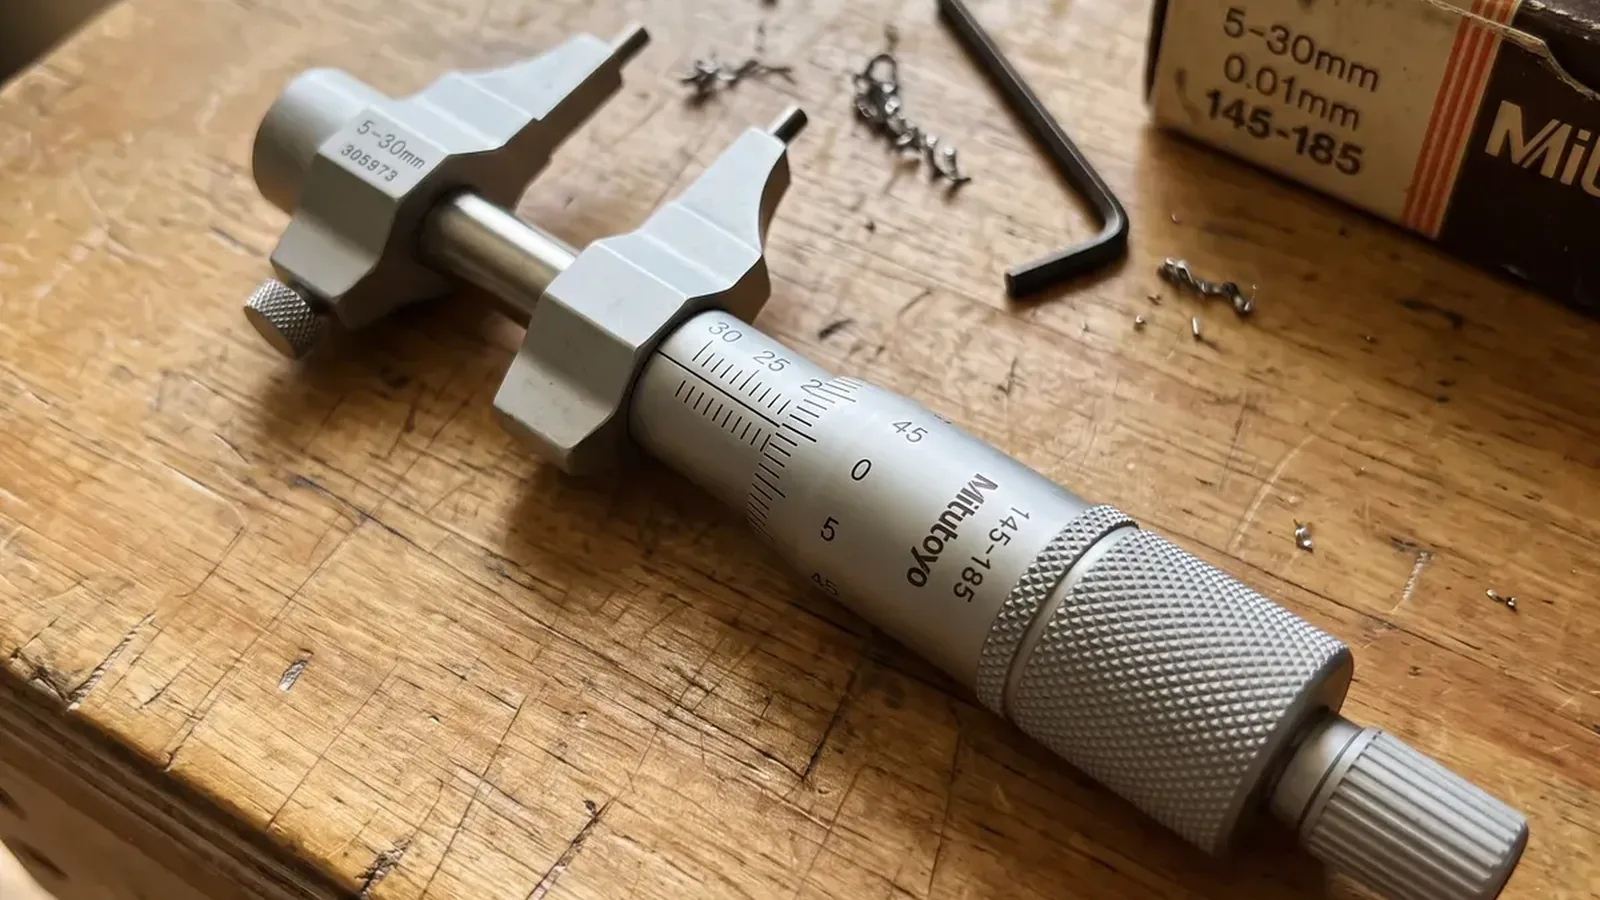
For the GAROSA product, the reviewed public facts support a 5-30 mm three-point internal/bore micrometer. They do not support an accuracy, resolution, supplied calibration certificate or setting ring. A sheet using this product can record its identity and range, then attach whatever calibration or verification evidence the user has separately obtained.
If the scale-reading method is unfamiliar, review the UK guide to reading a micrometer before creating the final job record. A neat form cannot correct a misread scale.
A practical readings table
Use one row for each independent reading. Do not overwrite a surprising number or record only the average. The original sequence often reveals whether conditions were stable or whether placement improved with practice.
| Bore ID | Depth from datum | Orientation | Trial | Reading | Observation |
|---|---|---|---|---|---|
| Example A | Position 1 | Direction 1 | 1 | Enter observed value | Clean contact, normal feel |
| Example A | Position 1 | Direction 1 | 2 | Enter observed value | Independent reinsertion |
| Example A | Position 1 | Direction 2 | 1 | Enter observed value | Orientation defined by sketch |
| Example A | Position 2 | Direction 1 | 1 | Enter observed value | Depth method recorded |
Replace the example labels with the locations required by the job. The table intentionally contains no sample dimensions or acceptance limits. A fictional number can survive copying long after its context is forgotten.
Separate observations, calculations and judgement
The indicated reading is the observation. A correction, average, difference between positions or conversion is a calculation. Acceptance is a judgement against an authorised requirement. Give each its own field and preserve the original values.
- Record units with every group of values.
- Show the calculation used for any reported difference.
- Identify excluded readings and explain why; do not delete them silently.
- State the source and revision of every acceptance limit.
- Name the person authorised to accept, rework, seek advice or reject.
- Mark preliminary measurements clearly when conditions or evidence are insufficient.
This separation is particularly important for taper and out-of-round investigations. Differences between sampled diameters may suggest a change, but they do not automatically provide a complete geometric assessment. Describe exactly what was compared and avoid upgrading limited hand-tool data into a universal claim about roundness or cylindricity.
Record conditions that can explain variation
Include cleanliness, visible surface condition, whether the component had recently been machined and whether tool, reference and workpiece had time to stabilise together. For important measurements, record measured temperatures with suitable equipment. For less formal garage work, a note such as 'component moved from cold storage; allowed to stabilise before measurement' is more useful than silence.
Also record interruptions. If the heater was moved, the part was cleaned again, the tool was checked after an odd reading or another operator repeated the set, mark the point in the sequence. Good records make anomalies inspectable instead of embarrassing.
Pre-use and end-of-job checklist
- Confirm the part, bore and requirement revision.
- Check that the instrument range and access suit the feature.
- Inspect and clean the bore and measuring contacts.
- Record instrument status and the applicable reference check.
- Allow stable measurement conditions.
- Define depths and orientations before taking readings.
- Record every independent reading in sequence.
- Repeat doubtful placements rather than editing the result.
- Compare only with authorised limits.
- Sign the measurement and decision sections separately.
- Store the sheet with supporting sketches, certificates and job records.
- Recheck the instrument if the sequence suggests drift or damage.
FAQ
How many bore readings should the sheet contain?
Use the number and locations required by the relevant drawing, manual or measurement plan. There is no universal pattern for every bore. Include independent repeats where they help establish that the placement and conditions are controlled.
Should I average repeated readings?
Keep all original readings first. An average may be useful only when the method calls for it and the readings represent the same stable quantity. Do not average results from different depths or orientations into one number that hides variation.
Can the sheet decide whether an engine needs a rebore?
The sheet organises evidence; it does not supply the engineering limits or make the decision. Compare the recorded measurements with the correct engine data and involve a competent machine shop when needed.
What if the instrument has no calibration certificate?
Record the actual status honestly. A pre-use reference check can be documented but should not be called calibration. Decide whether the available evidence is sufficient for the intended use; if not, arrange appropriate calibration or use suitable controlled equipment.
Should photographs be included?
Photographs can help identify the part, datum, damage or surface condition, but they do not replace readings or measurement evidence. Use only images you have the right to store and share. Supplier imagery for GAROSA is not approved for reuse under the reviewed fact-card status.
Final workshop advice
A useful bore measurement inspection sheet lets another competent person understand and repeat the work. Keep identity, method, raw readings and acceptance authority visible, and leave unsupported fields blank rather than filling them with assumptions. If your plan needs a three-point internal micrometer for a compatible 5-30 mm bore, you can review the GAROSA internal micrometer; record only the product facts and measurement evidence you can actually support.
Sources and further reading
- NPL Good Practice Guide No. 40: Callipers and Micrometers: Good measurement practice, instrument status, conditions, uncertainty, records and internal measurement.
- UKAS LAB 24: Measurement Traceability and Calibration in the Mechanical Testing of Materials: Equipment calibration, checks, traceability and record controls.
- GAROSA product fact card: 5-30 mm range, three-point format, unsupported specification boundaries and image-rights blocker.