Dropped a Micrometer? Use This Inspection Checklist

Short answer: stop using a dropped micrometer for important measurements until it has been inspected and appropriately checked. Record the incident, look for visible damage and contamination, assess the movement and contacts, perform only the reference checks you are competent and equipped to make, and arrange professional inspection or calibration when the consequence of a wrong reading is significant. A visual check alone cannot prove that the instrument is sound.
A micrometer can look unchanged after falling from a bench. That is precisely why the calm response matters. The impact may affect alignment, contact surfaces, movement, a force-control mechanism or the relationship between the indication and the true size. Picking it up, closing it once and seeing a familiar number is not enough evidence for the next costly engine or machining decision.
First action: quarantine, do not adjust
Move the instrument to a clean, protected place and mark it as not available for use. Do not turn adjusters, dismantle the body or try to make the reading agree with a remembered value. Adjustment can erase evidence of what changed and may make later assessment harder.
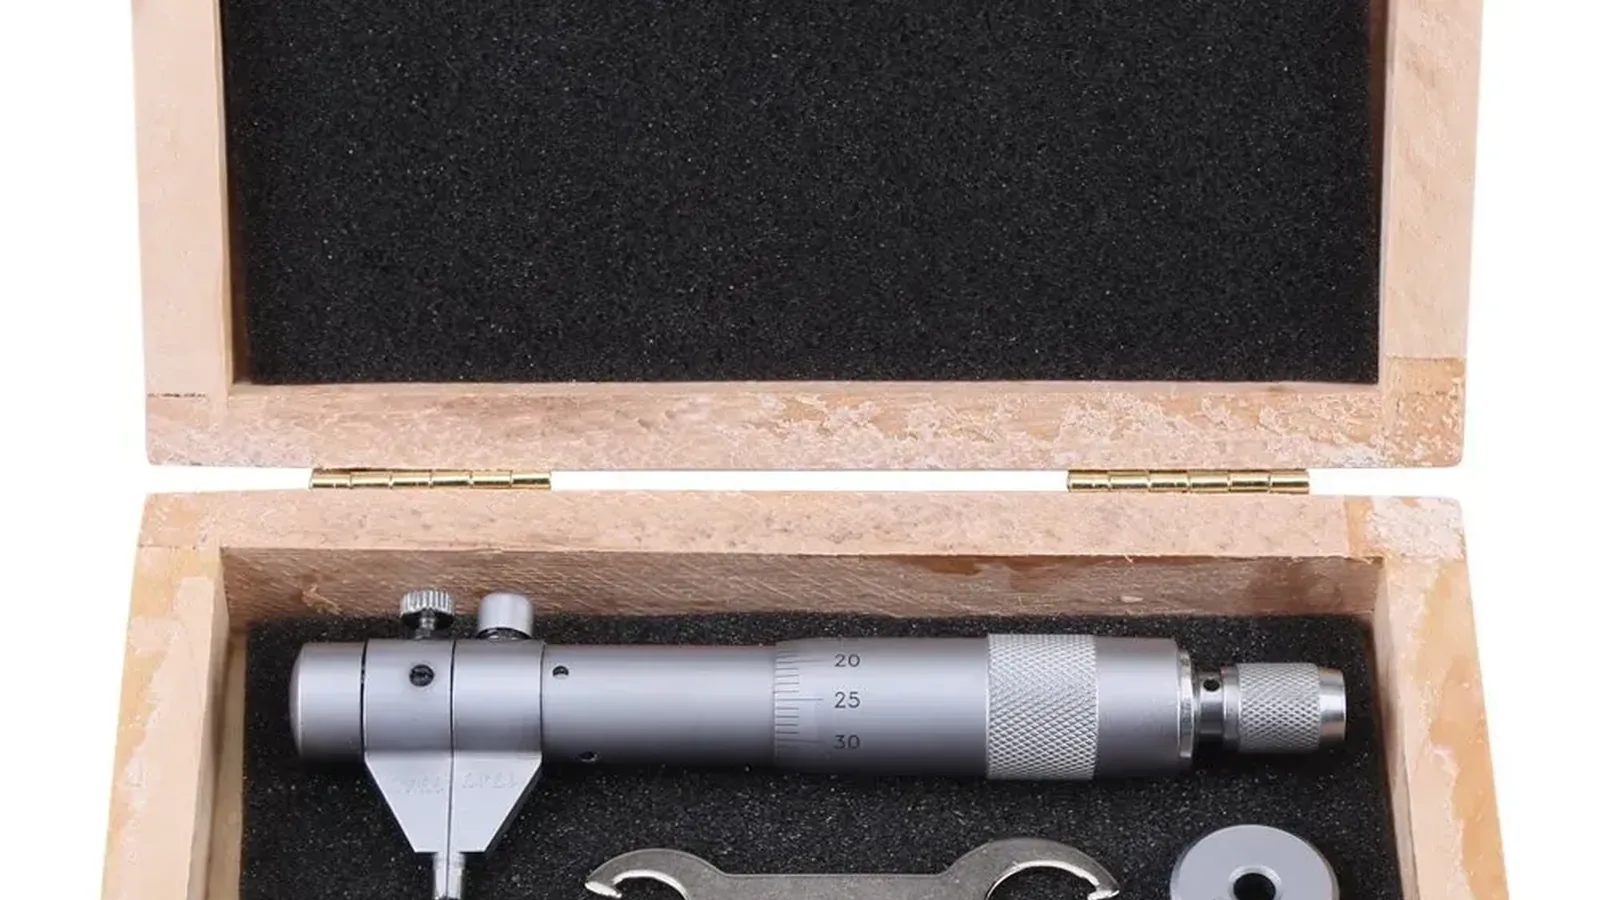
Write down the date, approximate drop height, landing surface, apparent point of impact, whether the instrument was open or closed and whether it struck another object. Note who was using it and which jobs it had measured since its last accepted check. These details help decide the depth of inspection and identify work that may need review.
- Remove the instrument from active storage.
- Attach a clear hold or quarantine label.
- Protect it from further knocks and contamination.
- Preserve any loose part rather than refitting it blindly.
- Record the incident before memory fades.
- Identify recent measurements that could be affected.
Inspection stages and stop signs
| Stage | What to inspect | Stop and escalate if |
|---|---|---|
| External condition | Body, sleeve, thimble, head, contacts, locking parts and case. | Anything is cracked, bent, loose, chipped or visibly displaced. |
| Cleanliness | Dirt, swarf, oil or grit on contacts and moving parts. | Contamination appears to have entered the mechanism. |
| Movement | Smooth, even operation across the relevant travel. | There is binding, roughness, a new tight spot, backlash or uneven feel. |
| Contact condition | Scratches, burrs, chips, corrosion and obvious misalignment. | A measuring surface is damaged or no longer seats as intended. |
| Reference behaviour | Repeat readings against a suitable reference using the correct procedure. | The result is unstable, changed from history or outside the applicable check rule. |
| Service decision | Measurement risk, required evidence and repair support. | You cannot demonstrate fitness for the intended use. |
NPL's guidance specifically says that a micrometer dropped or subjected to a blow should receive the daily inspection checks, and its fuller maintenance section lists checks of reference point, measuring force, fit, thimble runout, measuring-face relationship and instrumental error. Some of those checks need suitable equipment and competence. The list is not a claim that a home user can validate every characteristic with ordinary workshop items.
Carry out a careful external inspection
Under good light, inspect the body and measuring head without forcing movement. Look for fresh marks that show the impact path. Check whether scales or reference marks remain readable and whether any locking part operates normally. Inspect the measuring contacts with particular care: a small burr or chip at the contact can influence every reading while being difficult to see at a glance.
Remove only loose surface contamination using a method approved for the instrument. Do not stone, file or polish a contact to improve its appearance. That changes the measuring surface and turns an inspection problem into an uncontrolled repair. If a contact is damaged, keep the instrument on hold.
Assess movement without forcing it
Operate the instrument gently over the range relevant to the intended work, following its instructions. Feel for a tight section, roughness, uneven force, looseness or backlash that was not present before. If it binds, stop. Forcing the mechanism can create additional damage and makes the original condition harder to assess.
A movement check is qualitative unless the instrument procedure defines a measured test. Write what you observed rather than upgrading 'felt smooth' into 'passed calibration'. Smooth movement is necessary for many micrometer measurements, but it does not establish the indication error.
Use a reference check within its limits
If you have the correct reference artefact, a documented method and the competence to use them, perform a repeat reference check under stable, clean conditions. Use the same orientation and contact method used for the accepted baseline. Repeat the whole seating process, not simply the display observation.
Compare the result with the instrument's previous check record and the applicable acceptance rule. Do not create a tolerance because the numbers look close. A check at one point may reveal a problem, but it cannot demonstrate performance across the complete range. The reviewed GAROSA facts do not confirm a supplied setting ring, calibration certificate or reference accessory.
For consistent handling and scale reading, revisit the UK micrometer reading guide. After an impact, good reading technique is essential, but it cannot compensate for a changed instrument.
Decide whether professional assessment is needed
Professional inspection or calibration is the sensible route when the micrometer will release expensive work, when an impact mark is visible, when checks are unstable, when movement has changed or when you lack the equipment to assess the relevant characteristics. Tell the provider that the instrument was dropped and share the incident details. A routine request that hides the event may not focus attention on the affected areas.
If repair is proposed, ask what will be checked after repair and what record will be supplied. If replacement is more economical, define the range, access and evidence you need before buying. A new instrument should not be assumed calibrated merely because it is new.
Review measurements made before the drop was discovered
If the drop happened in front of you, the boundary is clear. If the damage is discovered later, identify the last accepted check and all work measured since then. Review the consequence of a possible error for each job. Some parts may be remeasured; others may need technical assessment because they have been machined, assembled or released.
Do not automatically reject everything, and do not automatically accept it. Record the rationale. A simple review table can list job, feature, measurement date, result, current part status, ability to remeasure and disposition authority.
What not to do
- Do not keep using the tool until the next scheduled calibration date.
- Do not adjust the reference point merely to make one check pass.
- Do not rely on appearance alone.
- Do not compare it casually with an unverified instrument and call that calibration.
- Do not dismantle a mechanism without the correct service procedure and competence.
- Do not promise that accidental damage is covered by warranty; check the actual terms.
- Do not erase or rewrite earlier results without preserving the audit trail.
FAQ
If the micrometer still reads zero, is it safe to use?
Not necessarily. A reference point that appears correct does not prove condition or performance across the range. Inspect the contacts and movement, consider the impact and use the level of assessment required by the intended measurement.
Can I compare it with another micrometer?
A comparison may provide information if the reference instrument, artefact and method are suitable, but an informal comparison is not automatically calibration. It can also transfer uncertainty from an unknown reference. Use a documented method and evidence appropriate to the decision.
Should I adjust it after a drop?
Do not begin with adjustment. First inspect, record and determine what changed. Adjustment without diagnosis can hide damage or make one point agree while other parts of the range remain wrong. Follow the exact service procedure or use a competent provider.
Does the 12-month GAROSA warranty cover a drop?
The fact card supports a retailer 12-month warranty, but it does not define coverage, exclusions or accidental-damage terms. Do not assume impact damage is covered. Check the current warranty terms with the retailer.
When should I replace rather than repair?
Consider the extent of damage, repair support, cost, downtime and evidence needed after repair. The final decision should preserve confidence in the measurement process, not simply minimise the immediate spend.
Final workshop advice
A dropped micrometer is an evidence problem before it is a tool problem. Quarantine it, preserve the facts, assess only what your method can genuinely establish and escalate when the consequence demands it. If assessment points to replacement and your work needs a three-point internal micrometer for 5-30 mm diameters, you can review the GAROSA product; verify its range and arrange any calibration evidence your work requires.
Sources and further reading
- NPL Good Practice Guide No. 40: Callipers and Micrometers: Post-impact inspection, routine checks, condition, movement, reference point and maintenance.
- UKAS LAB 24: Measurement Traceability and Calibration in the Mechanical Testing of Materials: Suspected mishandling as a trigger for checks and calibration review.
- GAROSA product fact card: 5-30 mm range, three-point format and retailer 12-month warranty with undefined coverage details.