How to Set a Micrometer Calibration Interval in a UK Workshop

Short answer: there is no single micrometer calibration interval that suits every UK workshop. Set the interval from the importance of the measurement, frequency and conditions of use, the instrument's history, the maker's instructions and any mandatory requirement that applies to the job. Use documented checks between calibrations, and bring calibration or competent inspection forward after a drop, overload, suspect reading or other event that could have changed the instrument.
That answer is less tidy than writing 'calibrate every year' on a label, but it is far more useful. A micrometer used each weekend in a dry home garage does not have the same history as one passed between operators beside a machine tool every day. Equally, an instrument used only twice a year may still deserve close control if its reading will decide whether an expensive classic-engine part is machined, accepted or rejected. The interval should reflect the consequence of being wrong, not simply the calendar.
Calibration, verification and a quick check are different
Calibration establishes the relationship between an instrument's indication and known reference values, with the relevant measurement results and uncertainty handled by a competent process. A routine check is narrower. It may show that the instrument behaves as expected at a chosen reference point or that its movement and contacts appear serviceable. It does not automatically establish performance across the whole measuring range.
For a garage user, this distinction matters. A clean reference check before measuring can reveal a problem, but passing that check does not turn an instrument into a calibrated one. Likewise, a repeatable reading is not proof that the reading is correct. Keep the words separate in your records: write 'reference check passed' when that is what happened, and reserve 'calibrated' for a calibration supported by the appropriate record.
The National Physical Laboratory's guide to callipers and micrometers covers calibration, verification, routine checks, handling and uncertainty. It also says that a periodic inspection interval should depend on usage and calibration history. UKAS LAB 24 similarly treats intervals as part of a planned calibration and check programme, with published methods, manufacturer instructions, previous performance and suspected mishandling all relevant to the decision.
Five factors that should set the interval
| Factor | Questions to ask | Effect on the plan |
|---|---|---|
| Measurement consequence | Will the reading guide a costly machining, fit or acceptance decision? | Higher consequence normally justifies tighter control and clearer evidence. |
| Frequency of use | Is the micrometer used daily, monthly or only during a winter rebuild? | Heavy use can justify shorter review periods; light use still needs pre-use checks. |
| Environment | Is it exposed to swarf, coolant, damp, temperature swings or shared storage? | Harsh or uncontrolled conditions support more frequent inspection and checking. |
| History | Have previous calibrations been stable? Have checks begun to drift? | A stable record may support review; adverse trends call for earlier action. |
| Events | Has it been dropped, knocked, overloaded, repaired or used for a suspect result? | Do not wait for the calendar date. Quarantine and assess it now. |
The table is a decision aid, not a formula. Two instruments of the same type can properly have different intervals because they have different jobs and histories. If a customer, drawing, quality procedure or published method states a mandatory requirement, that requirement takes precedence over an informal workshop habit.
A practical risk-based method for a small workshop
- Define the job. Write down what the micrometer measures and what decisions depend on the result. A rough investigative reading and a final acceptance measurement are not the same risk.
- Identify the required evidence. Decide whether an in-house check is enough for the intended decision or whether you need calibration by a competent laboratory. For externally calibrated equipment, confirm that the provider's capability covers the measurement concerned.
- Choose an initial interval. Use the maker's guidance, any applicable procedure and your expected frequency and conditions of use. Treat the first interval as a controlled starting point, not an eternal rule.
- Plan checks between calibrations. Include condition, smooth movement, cleanliness and an appropriate reference check. State what result triggers stop-use action.
- Review the evidence. When calibration or inspection comes due, compare the result with previous records. Shorten the interval if stability is doubtful. Extend it only when the applicable rules permit it and the history supports the change.
A simple forward planner is enough for a home workshop: instrument identity, current status, last calibration or verification date, next review date and event notes. The important part is that the date is visible before the instrument is needed. A winter engine build is a poor time to discover that the only measurement evidence is an old sticker with no supporting record.
What to check between calibrations
Checks should be suitable for the actual instrument and should follow its instructions. At a practical level, look for damaged or dirty contacts, corrosion, rough or uneven movement, play, a changing reference point and readings that do not repeat under the same conditions. Keep the instrument, reference and workpiece clean, and let temperature settle before drawing conclusions from a small difference.
- Confirm the micrometer is within the range needed for the feature.
- Inspect the measuring contacts and body for damage or contamination.
- Check that movement is smooth over the part of the range you intend to use.
- Use an appropriate reference artefact and documented method where required.
- Repeat the check rather than accepting one convenient result.
- Record the outcome, date, operator and any unusual condition.
- Stop using the instrument if the result is doubtful or the method is not understood.
For a refresher on scales, handling and reading sequence, see the UK guide to reading a micrometer. Reading technique cannot replace calibration, but consistent technique makes checks and measurement records more meaningful.
When not to wait for the due date
A calendar interval is only the backstop. Bring the review forward after impact, suspected overload, repair, adjustment, prolonged poor storage, contamination entering the mechanism, unexplained drift or a result that conflicts with other credible evidence. If the micrometer helped accept work that may now be questionable, review those earlier measurements as well. The right response is not to turn an adjuster until the number looks familiar; it is to preserve the evidence, identify affected work and arrange competent assessment.
Seasonal use deserves its own trigger. An instrument stored through a damp British winter should be inspected and checked before the first important spring job, even if its nominal calibration date is months away. Time unused is not evidence that condition remained unchanged.
FAQ
Must a micrometer be calibrated every 12 months in the UK?
No universal UK rule makes 12 months correct for every micrometer and every use. An interval may be specified by a test method, contract, quality system or manufacturer, in which case follow it. Otherwise, choose and document an interval based on risk, use, environment and history.
Can I calibrate a micrometer myself?
You can carry out checks if you have a suitable method, reference equipment and competence, but a quick comparison is not automatically a full calibration. High-consequence or formally controlled work may require a competent calibration provider and suitable traceability. Do not label an instrument 'calibrated' when all you have performed is a zero or reference check.
Does a new micrometer arrive calibrated?
Do not assume so. Check the exact product documentation and what evidence is supplied. A product description, a factory setting or a reading that looks plausible is not the same as a calibration certificate. The GAROSA product facts used for this guide do not assert supplied calibration, certification or traceability.
What if the micrometer passes a check after being dropped?
A single passing check may not reveal every change caused by impact. Inspect the instrument, consider checks across the relevant range and assess the consequence of the intended measurement. For critical work, arrange competent inspection or calibration before returning it to service.
Should occasional hobby use mean a longer interval?
Possibly, but frequency alone is not enough. Storage, previous history and the importance of the measurement also matter. A rarely used instrument that determines whether a valuable part is machined can still need strong evidence of fitness.
Final workshop advice
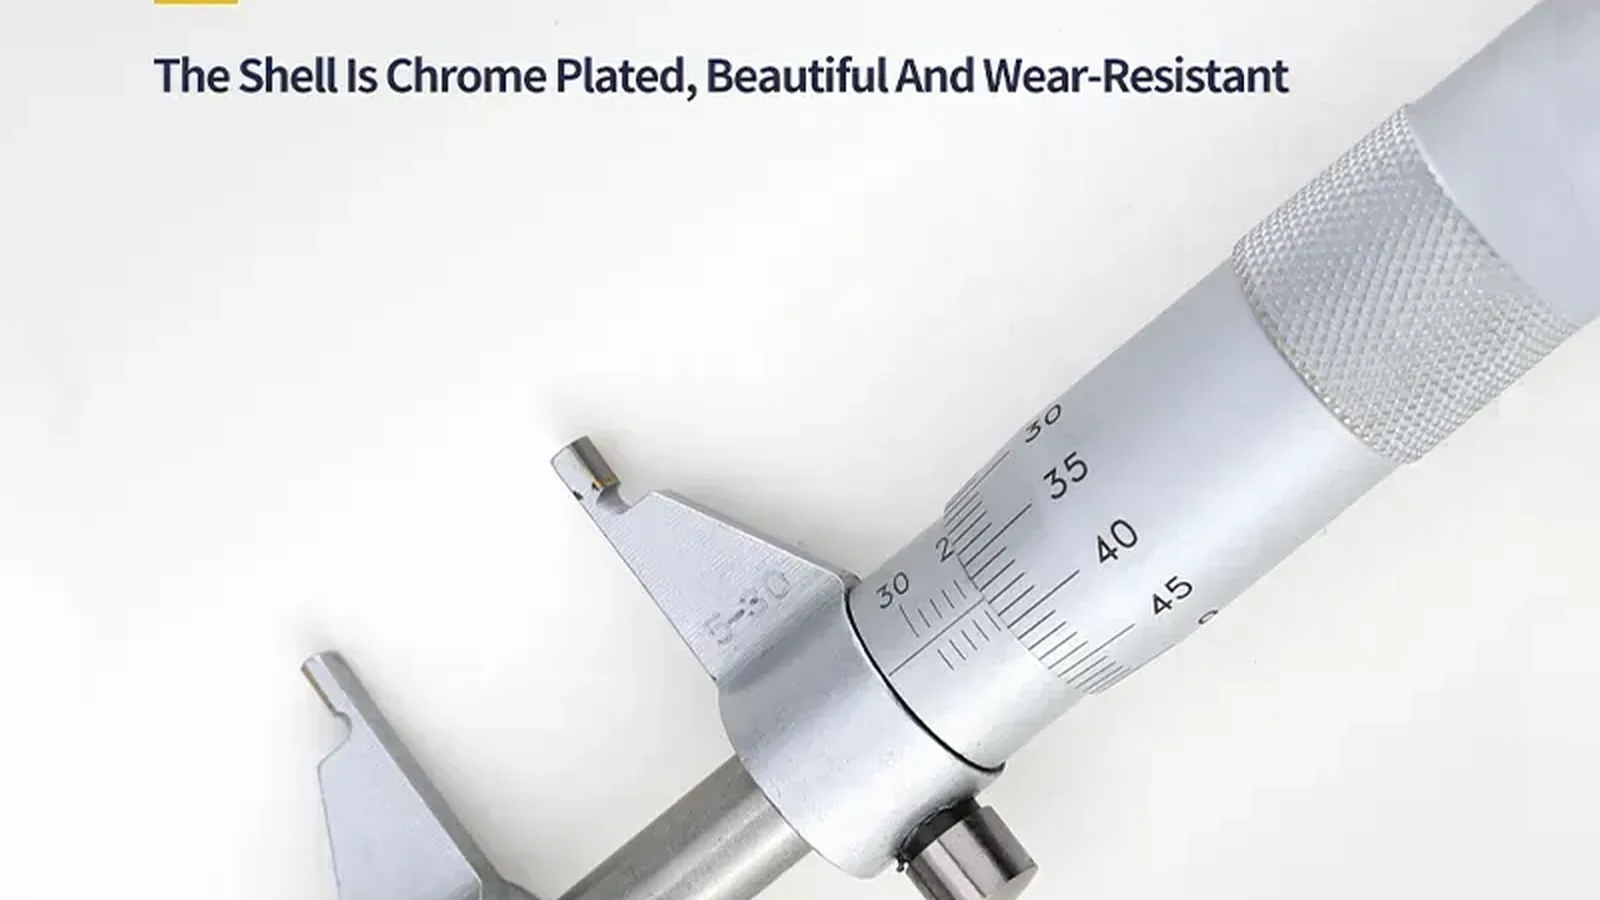
A sound calibration interval is a written decision supported by evidence, not a date copied from somebody else's sticker. Start with the job, set checks that can reveal change, record what happens and revise the interval as the instrument's own history develops. If you need a three-point internal micrometer for diameters within 5-30 mm, you can review the GAROSA internal micrometer; confirm that its range and evidence suit your work, and arrange any calibration your measurement plan requires.
Sources and further reading
- NPL Good Practice Guide No. 40: Callipers and Micrometers: Calibration, verification, routine checks, periodic inspection, handling and uncertainty.
- UKAS LAB 24: Measurement Traceability and Calibration in the Mechanical Testing of Materials: Risk-based calibration and check programmes, intervals, history and event triggers.
- GAROSA product fact card: 5-30 mm range and three-point internal/bore micrometer identity; no calibration claim.